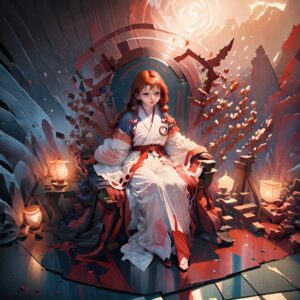
How to use LoRA on web hosted Stable Diffusion and Telegram
PREREQUISITES
Master guidance and concepts first, or LoRAs will be difficult to control.
Introduction to LoRAs
LoRA stands for “Low-Rank Adaptation”, a compact AI model that is small in both file size and specialization. To use an imperfect analogy, a LoRA is like paint brush that does one thing well, or overdoes it if you press down too hard (weight).
We have already preloaded hundreds of LoRAs on our system for your enjoyment, and more are added every week. Please follow our announcements channel to get concise updates on LoRA tech. An example LoRA is pictured below, as seen on the popular site Civitai:

The most popular category of LoRA are “character” types, but there are many types: Anatomy correction, a visual effect, pose correction, clothing style, or even style of architecture. Pair a strong prompt with a LoRA to boost prompts further.
Basics: Using a “character” type LoRA
This one pictured above is called Yae Miko, a mini AI model that only outputs this specific character. It is one of 4 Yae Miko LoRAs that we know of — the community is creating many flavors of the same character, too. There is an anime version, a realistic version, and so on. Thousands of them exist.
This particular LoRA is optimized (144 MB) so it works best with an underlying “base model” that helps fill in the blanks, typically <chilloutmix> (3 GB). Some of our LoRAs are as small as 9MB, tiny by comparison.
LoRAs are preloaded on our platform, so downloading files isn’t necessary, we’ve already done this work for you. To use it, simply add its trigger at the end of your prompt:
(your prompt) <lora:yaemiko>
To use it with a base, add the larger to the end:
(your prompt) <lora:yaemiko><chilloutmix>
If you forget to add a base, the image may not look as good. It will fallback on Stable Diffusion 1.5, an older, lower quality base. Research well to find the best base for your LoRA, you can mix and match them for different looks.
COPYING POPULAR INTERNET LORA PROMPTS
We support the same syntax as Civitai for LoRAs, however note that our system uses square brackets for negative prompts. So make sure you don’t do (mutated limbs) or you will get double the mutated limbs. Also remember that exaggerating the resolution will create twins, for better or worse! Use “HighResFix” instead.
An example of the LoRA “Taiwan Doll Likeness”
This is one of hundreds of characters available in our concepts system. Remember to turn on the NSFW tab to see all of the anatomically gifted characters like these. The “doll” series (by various creators) refers to a non-specific imaginary pretty person.
/render /steps:50 /sampler:dpm2m /tall /seed:21651946063 /guidance:8 best quality, ultra high res, photorealistic, 1girl, loose and oversized black jacket, white sports bra, (yoga pants), (light brown hair), looking at viewer, smiling, fully body, streets, urban makeup, wide angle [[anime, paintings, sketches, worst quality, low quality, normal quality, low res, normal quality, monochrome, grayscale, skin spots, blemishes, acne, skin blemishes, age spots, glans]] <lora:taiwandoll:0.5><chilloutmix>
We’re not sure what “glans” are either, it’s one of those popular internet prompts.
Notice that the weight of the LoRA here is 0.5 and not 1.0. If people look like glass, if you’re getting static or solid colors, try lowering the weight until it comes into focus. There is a relationship with the guidance number and LoRA weight, so try to find the sweet spot.
How to use multiple character LoRAs at once
Next, Let’s look at an example where more than 1 LoRAs were blended:
(your prompt) <lora:zelda:0.5><lora:yaemiko:0.5><revani>
This results in a blended look of two characters at 50%, by adding a number towards the end. The base was also changed to the more anime “semi-realistic” design concept of ReVAnime, <revani>
To target multiple characters in a scene each with a different LoRA is quite difficult to do in a prompt (usually yields twins). It’s easier to use inpaint

Exploring the LoRAs system in detail
TELEGRAM
To see a quick list of LoRAs, type the models or concepts command in telegram, or hit the concepts button in Web UI. These two commands do the same thing:
/models
/concepts
A list will appear with some names that have an asterisk, which are the LoRA models. You can browse LoRAs by tags in telegram, or launch a web picker that returns you to Telegram. It’s one unified piece of software, same models.
WEB UI METHOD
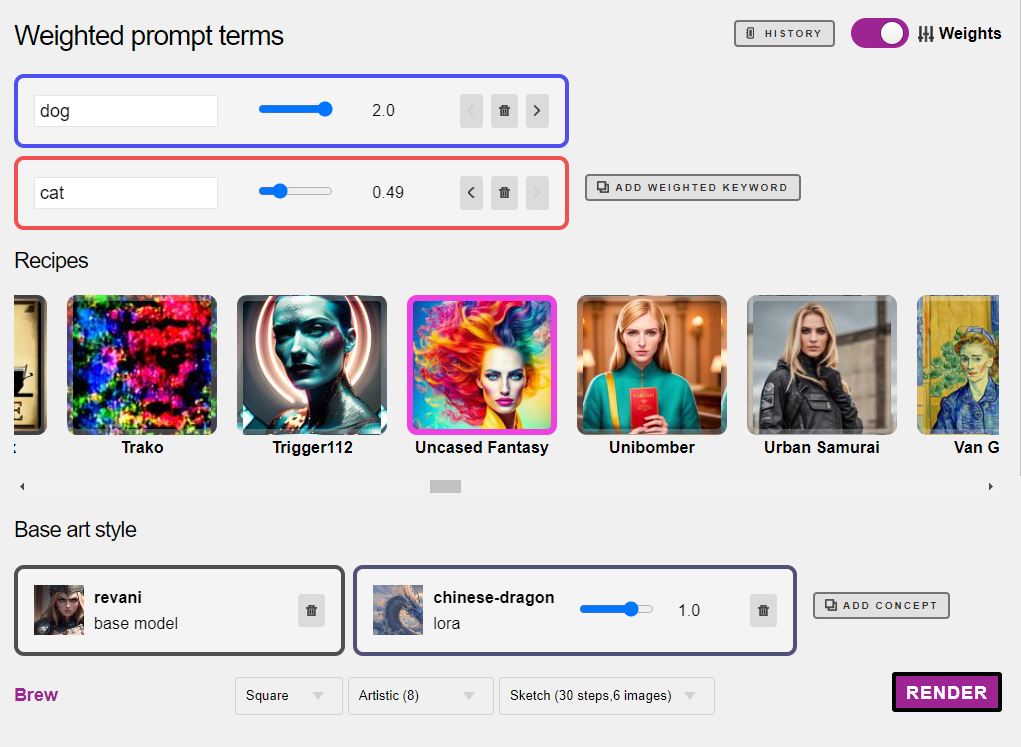
Click into the Advanced editor and then click Concepts and buttons with all of the names appear. Clicking the button adds it to your prompt, with the default alpha weight of 0.75.
We have added a way to easily adjust weights with sliders, take a look.
LORAS CHEAT SHEET
Bookmark this page for information on LoRAs already preloaded in our system. We update it everyday and add links to their manuals and recommended keywords.
Using an “effects” LoRA
When creating an image, the LoRA acts the wrap that sits somewhere between the pose and the design concept. Let’s start with a baseline image.
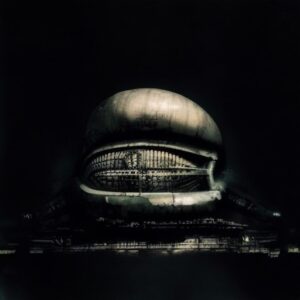
Now let’s add the “effect” type LoRA nicknamed “noise” which adds a dark and dramatic lighting effect. We mix it with a base, Deliberate2.
/render cheeseburger <lora:noise><deliberate2>
IN Web UI
It works exactly the same, BUT omit the /render command:
a cheeseburger <lora:noise><deliberate2>
Remixing an existing photo with LoRA
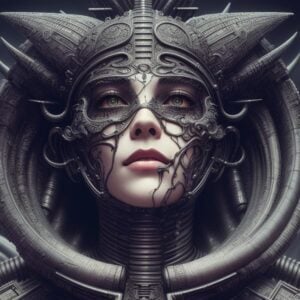
How about an H.R. Giger burger? Select the picture first and then
/remix <lora:giger>
But don’t forget the base model and you’ll get a better effect. Remember that Remix is a destructive command and all pixels will be wiped. To alter only minor things about an image, use inpaint instead.
/remix <lora:giger><deliberate2>
The result is dramatic!
Getting an image that dark is actually pretty hard with most models in Stable Diffusion, so this technique is quite practical. You’ll notice I added a colon and the number 2 in <lora:noise:2>. Effect LoRAs, unlike characters, often work well with higher values.
Anatomy correction LoRAs like “betterbodies” work better on very low weights. In both cases don’t forget your [negative prompts] or you’ll get mutated results. The LoRA can’t do everything on its own.
Tuning your each LoRA’s Alpha Weights
Weights just means how much of the visual effect to apply.
By default, the system applies 75% LoRA effect; a value of 0.75.
This is a good starting point for characters. You’ll know if the number is set too high if your images are overly blurry or your people look like beef jerky. In some cases, going higher than 100% can also work well, when paired with the right base model. In the example below, the volume was cranked to 120%:
/render The Beauty of Annihilation, detailed face <lora:giger:1.2><realvis13>
The LoRA weight balance tango
LoRAs are usually tiny files. The LoRA is typically lower quality than the base model for rendering characters on it its own, so we only want to guide it slightly.
In fact, if you try to use a character LoRA directly without a base, it is rarely a good result unless the LoRA is its own general art style (not an effect, not a character). <lora:giger> for example can stand well enough on its own, but definitely looks better when paired with <realvis13> or <deliberate2> or others.
The base model is what makes the image beautiful. Picking the right base model with the right LoRA makes all the difference. The creator has already figured this out, so like we said before, check our document and RTFM to save stress!
Example: Let’s say that we wanted the softer aesthetic of the base model ChilloutMix instead. A good balance might be something like….
/render The Star Wars Villain <lora:darthvader:0.65><chilloutmix>
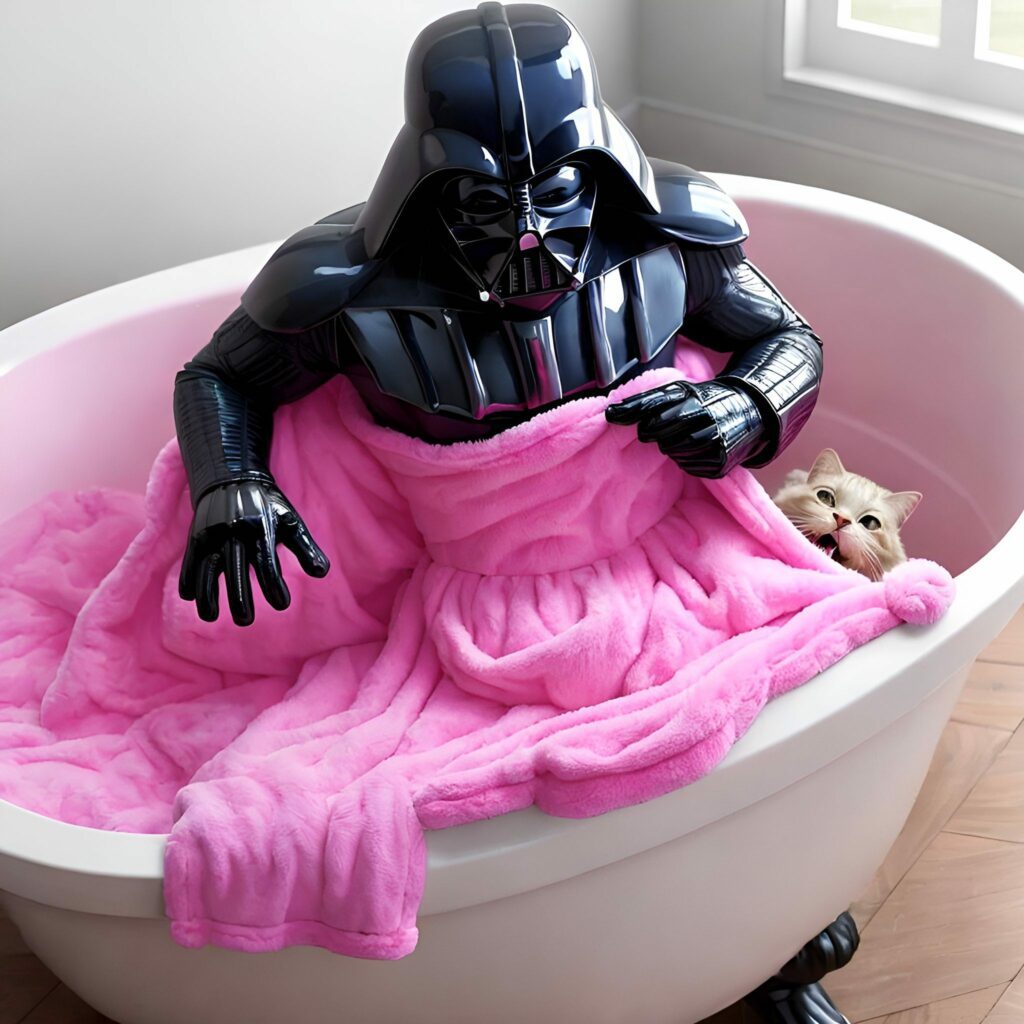
Then you can go nuts with it (prompt below)
/render /seed:964114 /guidance:9 /size:768x768 /recipe:easynegative A Pottery Barn catalog photo of Darth Vader ((wearing a pink bath robe)), clutching a very angry cat trying to escape, inside a tub [[nsfw, nudity, legs, skin, bare legs, knees, flesh]] <lora:darthvader:0.65> <chilloutmix>
Note: EasyNegative is a community recipe, a prompt template. Learn how
Practical Use Cases
LoRAs really shine when you are asking for the impossible, such as when the Concept Checkpoint has the art style that you want, but falls short on the subject matter, or when you’re going for an experimental blending of ideas.
Let’s say your favorite AI anime model was created last year but you want to inject someone or something recently famous within. Instead of praying that they appear in the next version, drop in the LoRA and you’re there.
Boost Quality: The “High Res Fix”
Select the picture you want to boost, and then give it the high def command. This appears under Tools in Web UI, and you can type it like this in Telegram:
/highdef
You can follow a high def with an AI upscale:
/facelift (followed by /anime or /photo, optional)
Alternative method: You can also go straight into a higher resolution by doing something as high as /more /size:1216×1216 in one shot, but it won’t facelift after that as it is already HD.
Feel free to use this on your non-LoRA images as well, it works on any render.
Troubleshooting LoRAs
THE IMAGE IS COMPLETELY BROKEN
Lower your weights. Start with <lora:name:0.1> and see if you can bring a base image into focus. Here is an example of two LoRAs cranked to 2.
Both alpha weights are too high at 2…
/render /guidance:12 <yaemiko:2><gacha:2><revani>
Same prompt with lower weights on both:
/render /guidance:12 <yaemiko:0.3> <gacha:1><revani>
problem: MY PHOTO IS BLURRY
Some base concepts will look inherently blurrier than others, like pastel and oil based concepts. Try switching to a dramatically different one instead.
Also try adding the size command to your render, like this:
/render /size:960x960 <lora:mylora><revani>
Then do the “high res fix” technique described above.
If the result is almost sharp but still a little off, try adjusting your weights.
problem: MY IMAGE LOOKS TOO “loose”
Temporarily turning off the “effects” LoRA might help you find the problem. If that’s not the issue, your guidance might be too low. A good combo is high guidance, low weight on the character, and a higher weight on the effect (if any).


Try upwards of /guidance:12 with /sampler:dpm2m
Spotting a bad combination early
If your weights are already very low, you’ve tried different samplers, and things still look strange, it might just be a bad combination of Loras. There’s such also such thing as over-LoRA-ing. If you’re getting multiple eyelids, outlines around eyeballs, or paper mache looking skin, you will get something like a surreal “paper mache” effect (left) or something that looks like a poorly printed comic book (right).
I mean, they’re kind of cool, but probably not what you intended.
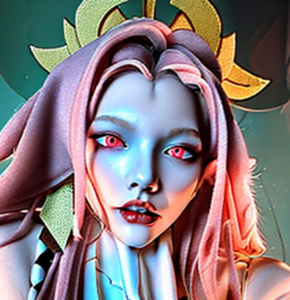
Not all LoRAs work perfectly together. Try a different combination and greatly lower your alpha weights to get a more attractive image.
Keep it simple: don’t add five LoRAs at once and try to balance each all at once until you’re more familiar with each of those models. Add one at a time and build after you’ve established a good result. Otherwise, how would you know which one is causing the most trouble?
STILL NO IMAGE IN FOCUS
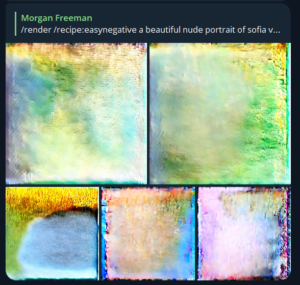
If your alpha weights aren’t cranked up to the ceiling and you still see something like the colorful noise images below, then the LoRA is not supported at this time. Give us a shout in VIP to debug it.
FAQS
Can I create my own Dreambooth / LoRA?
We don’t offer this service yet, but we do want to add it this year.
I have a LoRA request, can you install it for me?
If there is a LoRA we don’t have, we’ll install it for you. Just sign up for an account and give @admin a shout in the VIP channel. During our beta, admins are checking each LoRA for quality assurance.
For members with private bots/servers, uploading 18+ models is OK as long as it is within our Terms of Service (basically no loli/underage stuff)
Why doesn’t my LoRA look like an internet example?
In most cases they are using upscaling, so try to exhaust all quality boosting techniques like High Res Fix method and /facelift methods first. If the content is still off by a huge margin, jump into the VIP chat with us and let’s figure it out in the Test Room. Our implementation is beta, so we may have bugs. A note about Internet Prompts in general though — What we don’t see is the many tries it took them to nail it, assuming they published their full prompts, plugins, secrets, etc — like 200 steps and then upscaling and a little light touch-up inpainting, etc. Without watching the person work over a video on Youtube for example, it’s hard to truly know what they did differently.
What’s the difference between LoRA and ControlNet?
Many LoRAs are created only for poses and don’t represent a specific art style or character. Think of a LoRA like “the wrap”, whereas ControlNet is like the skeleton. They can interact.

