How to upscale your images with HighDef, Facelift, Size, and More – Stable Diffusion
Our software offers a variety of ways to bump the quality beyond Stable Diffusion’s default 512×512, like HighDef and Facelift, as well as the non-upscaling size commands when using other program features.
How to use HighDef
HighDef (aka HighResFix) is a technique that doubles the resolution of an AI image, while also applying anti-aliasing correction to minimize anomalies. The feature is available in both Web and Telegram, and works with any rendered image. For uploaded photos, use Facelift instead (explained below)
Web UI
Find the HighDef button under Tools, and click on that.

Telegram
To use highdef, the input must be rendered at the standard 512×512. To boost up to 1024×1024 and see two variations of the effect, we then simply reply to an image with /highdef

This can only be done once, and it will return two variations of the same image. It doesn’t work with 768×768 images, which are already upsampled. The longer way to do it is to type /more /size:1024×1024 /images:2, which does the same thing.
You can then boost the pixels further with Facelift, explained below.
How to use Facelift
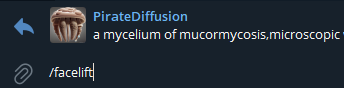
To use it, simply reply to an image with /facelift and you’re done. You can only upscale one image at a time, but the usage isn’t metered or limited in any way. You have unlimited facelifts, feel free to upscale everything all day long.
The /facelift command fixes faces (glitches, imperfections, rough and oily skin) as well as upscales your picture. Sometimes you don’t want faces retouched, so there are two other modes:
/facelift /anime — for any kind of illustrated works, pass the /anime secondary command. It works great on drawings, paintings, CGI, including semi-realistic CGI.
/facelift /photo — when you want upscaling but not face retouching, such as landscape photo, or when you do not want your character to have that “airbrushed” look
FACELIFT STRENGTH
Control the amount of facelifting by adding the strength parameter. The strength is set to 1 by default.
/facelift /strength:0.5
Intentional loss of detail
Just like turning on “beauty face” on your smart phone camera, facelift uses similar technologies to smooth fine details. This can sometimes result in overly smooth faces or loss of some unique facial details, like freckles or birthmarks. You can offset this by targeting an ideal render from the start (see first paragraph).
But more than often, the results are really impressive.
Typical render:
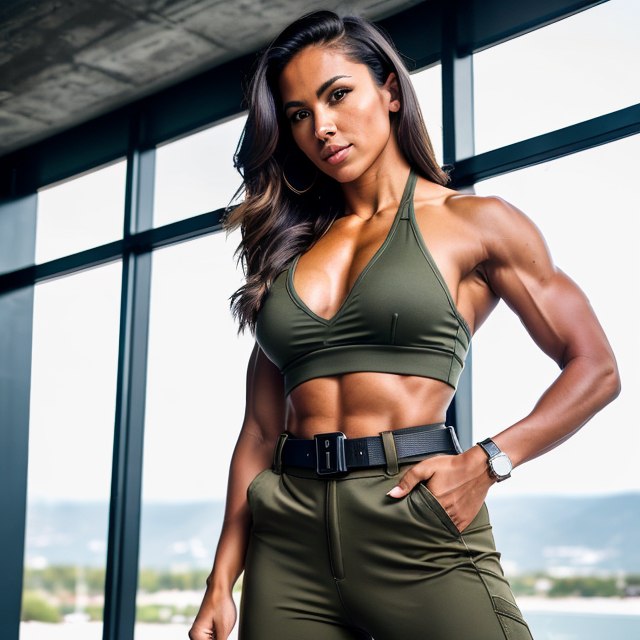
Upscaled image:

Also see: Size and Resolution
The “more” method
Reply with:
/more /size:1300×1300 /images:2
This is a quick and dirty version where you are limiting the number of images to avoid running out of memory, but getting 2 variations at higher resolution. This is as large as this photo will go.
For best results start at a compatible resolution