Features & FAQ
Register
1 minute
Get to know Graydient, start a 7-day trial, remove ads, and unblock all prompts

Activate
5 minutess
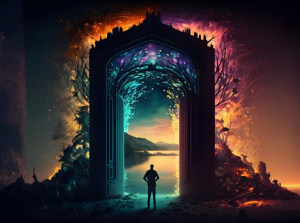
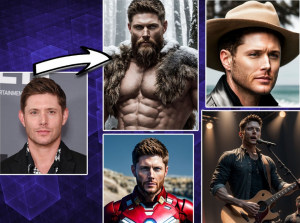
Launch PirateDiffusion, make a fake van life influencer, and make image folders
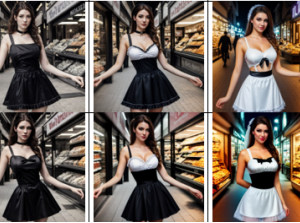
Create
5 minutes
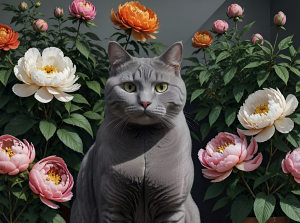
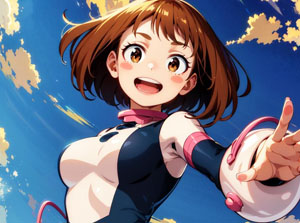
Create fancier images in seconds by copying this fancy kitten using positives, negatives
Examples
Resource
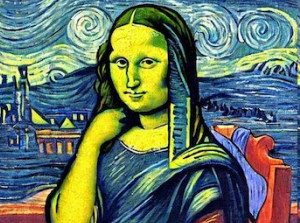
Try some example templates and learn /showprompt

Cheat sheet
Resource
This is the kitchen sink - every feature on one handy page for reference
Drawings
5 minutes
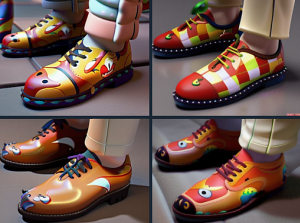
Increase your skills with a lesson on making logos or stickers

Remix
5 minutes
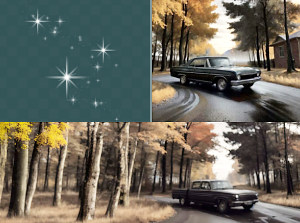
Start with an image and remix it into anything (img2img)

Sizes & Ratios
5 minutes
Learn these handy shortcuts for ultrawide or tall photos
Variations
3 minutes
Use the More command to generate an infinite number of slightly different images

Upscalers
VIDEO
Boost pixels and improve faces with Adetailer, HighDef, or Facelift

After Detailer
VIDEO
Fix bad hands and boost
face details with Adetailer

Samplers
VIDEO
Learn how to use ControlNet and the fast LCM sampler

Use a Model
7 minutes
Bring any style or thing into your prompt by loading a model
Make a model
5 minutes
Train a face, art style, or concept in minutes, use it right away

Remove artifacts
VIDEO
A quick review of Weights and Guidance to make pics clearer
Translate
1 minute
Use the translate command to prompt in 50+ languages
Artist Names
Resource
A list of artist names and styles for your prompts
AI Avatars
5 minutes
Create unlimited AI avatars of yourself or someone else easily

Inpainting & Generative Fill
10 minutes
Add, change or remove anything from a photo with the Inpaint Brush
Outpaint: Expand the Canvas
10 minutes
Change the background and aspect ratio with a zoom or prompt
Face Swap your own photos
3 minutes
Program a realistic face and swap it into another image, in seconds

Remove or Replace the background
6 minutes
One click removal, background color, or ControlNet-style BG swap

Rotate any image
1 minute
Remove the background first for best results, then /spin

JPG, PNG, or SVG downloads
5 minutes
Create AI images in high res, transparent, or even as vectors

Negative Inversions / Embeddings
10 minutes
Use Negative Embeddings and HighDef to boost quality

ControlNet
10 minutes
ControlNet extends Img2Img, with skeletons, outlines, & more
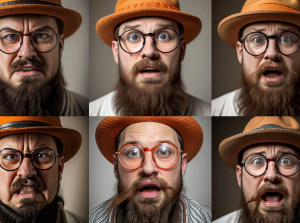
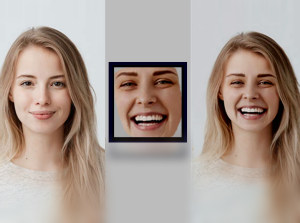
Expressions
5 minute
Get the exact facial expression you want using these 4 tips
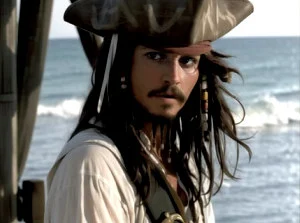
Characters
10 minutes
How to load one, and how to repeat them in different images
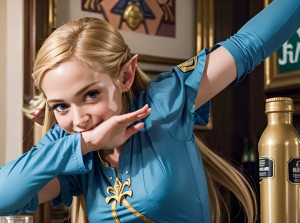
Poses
7 minutes
Browse thousands of AI models and learn to Render like a pro

Advanced Remix:
3D to Photo
5 minutes
Remix: Use Case - import a 3D model pose and turn it into a photo

Advanced Parser
10 minutes
Every token can have weights, and use ClipSkip to jump layers

Advanced Remix: Sketch to Photo
5 minutes
Use ControlNet modes to turn your sketches into photos

Blend / Regional Prompting
5 minutes
For the hardcore enthusiast, try Samplers, VAE, and FreeU

VAE Swap
10 minutes
How to load one, and how to repeat them in different images

HDR Latents
10 minutes
Change lighting, boost details, and correct composition with VASS
FreeU
10 minutes
Enhances render quality without additional training

Make a Recipe
10 minutes
Once you know your stuff

Loadouts
90 minutes
Set a default concept, save different parameters for any workflow
Diagnostics
2 minutes
Check the network and render status with /ping and /history

Widget Lab
30 minutes
Setup a widget in My.Graydient to use on Telegram or Stable2go, build your own UI

Do More
Integrations
Learn how to use PirateDiffusion together with LoraMaker and Stable2go and our API
Roadmap
The Future
What should we build next? Submit your ideas and upvote the best